How post-processing a resin printed object ?
04/12/2023 09:45:19
3D Printing
,
Post-production
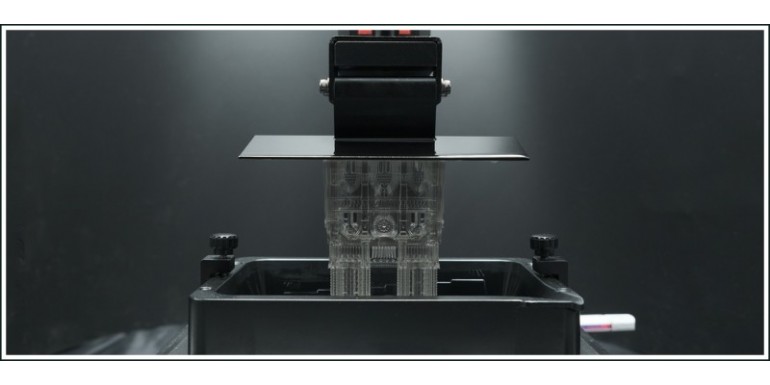
Post-processing a resin 3D printed object can involve several steps to achieve the desired final appearance and functionality. Here are some common post-processing techniques for resin 3D printed objects:
- Cleaning: After printing, resin 3D printed objects typically require cleaning to remove any uncured resin and support structures. This can be done using a combination of isopropyl alcohol (IPA) and a soft-bristled brush.
- Curing: Depending on the type of resin used, the printed object may need to be cured under UV light for a period of time to fully harden and strengthen the material.
- Sanding: If the object has rough or uneven surfaces, sanding can be used to smooth them out. Start with a coarse grit sandpaper and gradually work your way up to a finer grit until the desired level of smoothness is achieved.
- Filling: If the object has small imperfections or gaps, they can be filled with a filler material such as epoxy or a 3D printing-specific filler.
- Painting: Painting the object can be used to add color or a decorative finish. Make sure to use a primer first to ensure the paint adheres properly.
- Polishing: If a shiny finish is desired, polishing can be done using a polishing compound and a soft cloth or buffer.
- Coating: Applying a clear coat or other protective coating can help protect the object from damage and extend its lifespan.
Overall, the post-processing steps for resin 3D printed objects will vary depending on the specific object, its intended use, and the desired final appearance.
")
")
