To convert an STL file to GCODE for 3D printing, you need to use slicing software. Slicing software takes the 3D model and converts it into layers and generates the toolpath for the 3D printer to follow. Here are the general steps:
- Download and install slicing software: There are several free and paid slicing software options available, such as Cura, PrusaSlicer, and Simplify3D. Choose one that is compatible with your 3D printer and install it on your computer.
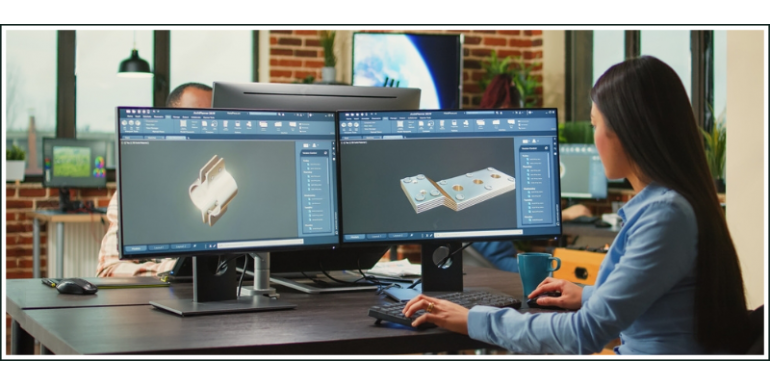
- Import STL file: Open the slicing software and import the STL file you want to print.
- Configure print settings: Set the printing parameters, such as layer height, print speed, temperature, and infill. These settings will depend on your printer and the type of filament or resin you are using.
- Generate GCODE: Once you have configured the print settings, generate the GCODE by clicking the "Slice" button. This will create a GCODE file that contains the instructions for the printer to create the print.
- Save GCODE: Save the GCODE file to an SD card / USB storage or transfer it directly to the printer using a USB cable.
- Start printing: Insert the SD card / USB storage into the printer or connect the printer to your computer, and start the printing process. The printer will read the GCODE file and use the instructions to create the 3D print.
Remember to consult the manufacturer's recommendations or seek advice from experienced users in online communities or forums to ensure that you are following best practices for your specific 3D printer and model.
we will see in detail the considerations to be taken into account for some parameters in particular. Ultimately, the best ones will depend on the specific needs of your prints or the miniature you're printing and may require some experimentation.
What is the best infill setting in 3D printing to print miniature game terrain ?
The best infill setting in 3D printing for miniature game terrain depends on the specific needs of your prints. However, there are some general guidelines that can be followed.
For miniature game terrain, a low to medium infill setting is typically recommended. A low infill percentage (around 5-10%) can save on material and print time, but may result in a less sturdy print. A medium infill percentage (around 20-40%) can provide a good balance between strength and material usage.
Additionally, for miniature game terrain, it is important to consider the surface quality and the weight of the print. A high infill percentage can result in a heavier print, which may not be ideal for gaming terrain. Therefore, using a medium infill percentage, such as 20-25%, may provide a good balance between strength and weight.
It is also worth noting that some 3D printing software, such as Cura, have settings specifically designed for printing terrain. These settings optimize the print for speed and quality and can provide a good starting point for your infill settings.
What is the best layer height setting in 3D printing to print miniature game terrain ?
The best layer height setting in 3D printing for miniature game terrain depends on the specific needs of your prints. However, there are some general guidelines that can be followed.
For miniature game terrain, a low layer height setting is typically recommended. A lower layer height can provide finer detail and a smoother surface finish, which is important for capturing the intricate details of the terrain. However, a lower layer height also means that the printing time will be longer and the print may require more material.
A layer height of around 0.1-0.2mm is a good starting point for printing miniature game terrain. This will provide a good balance between detail and printing time. However, it is important to note that some printers may not be able to achieve such low layer heights or may struggle to maintain consistent print quality at these settings.
Additionally, the nozzle size of the printer can also affect the optimal layer height. A smaller nozzle size can handle smaller layer heights better, while a larger nozzle size may require a higher layer height.
What is the best print speed setting in 3D printing to print miniature game terrain ?
The best print speed setting in 3D printing for miniature game terrain depends on the specific needs of your prints. However, there are some general guidelines that can be followed.
For miniature game terrain, a slower print speed is typically recommended. A slower print speed can help to improve the accuracy and quality of the print, especially for small and detailed objects. Additionally, a slower print speed can help to reduce the risk of errors, such as layer shifting and under-extrusion.
A print speed of around 30-40mm/s is a good starting point for printing miniature game terrain. However, it is important to note that some printers may not be able to achieve such low speeds or may struggle to maintain consistent print quality at these settings.
Also, the complexity of the model and the type of material being used can also affect the optimal print speed. More complex models may require a slower print speed to ensure accuracy and quality, while more flexible materials may require a faster print speed to prevent clogs in the extruder.
")
")
