How prepare support for resin printing in Chitubox ?
04/11/2023 00:00:00
Impression 3D
,
Logiciels d'impression 3D & Slicers
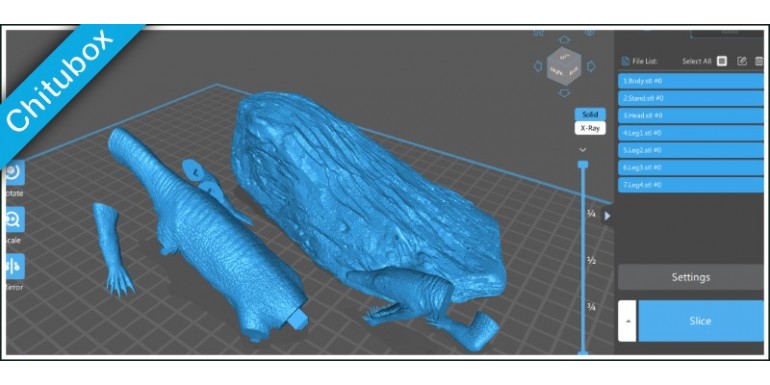
Preparing a supported version of a 3D file in Chitubox involves the following steps:
- Open Chitubox and import the 3D file you want to print.
- Adjust the size, orientation, and position of the model as needed.
- Click on the "Edit" button to access the support settings.
- Select the "Auto Supports" option to automatically generate supports for the model. You can adjust the density, size, and angle of the supports to optimize the printing process.
- Use the "Add Support" tool to manually add additional supports to areas that may require extra support, such as overhangs or thin sections.
- Use the "Delete" tool to remove any unwanted supports.
- Adjust the "Base Settings" as needed to ensure that the supports are properly anchored to the build plate and that the model is positioned correctly for printing.
- Preview the sliced model to ensure that the supports are properly placed and that there are no issues or errors with the printing process.
- Save the supported 3D file in the appropriate format for your 3D printer, such as .STL or .OBJ.
- Transfer the file to your 3D printer software and adjust any additional settings as needed, such as layer thickness, printing speed, and curing time.
Now, you can start the printing process and monitor the progress closely, to ensure that the model is printing correctly and that the supports are working as intended.
Once the print is complete, carefully remove the supports from the model using pliers, cutters, or other tools as needed. Be sure to use caution when removing the supports to avoid damaging the model.
")
")
